
Track the hours your employees work and link them to leave allowances with WP-HR Attendance.
In this documentation, we will cover the following-
- Overview & installation of WP-HR Attendance
- Attendance settings
- Creating list & managing employee attendance
- Reviewing attendance records
- Creating, assigning and managing shifts
- Enabling self-attendance system
- Generate reports
- Export/import attendance records
Installation & Overview
If you have added the plugin using the Add On screen at WP-Dashboard → WPHR Settings→ Settings→ Add Ons the installation should be automatic.
If you need to do a manual install from the Zip file, the installation of this add-on is same as a regular WordPress plugin. Navigate to WP-Dashboard → Plugins → Add New → Upload the add-on file → Install and activate.
You may need to synchronize your license – go to WPHR Settings => Settings => Account. If you are asked for a license number, check the email which was sent to you on completion of your purchase.
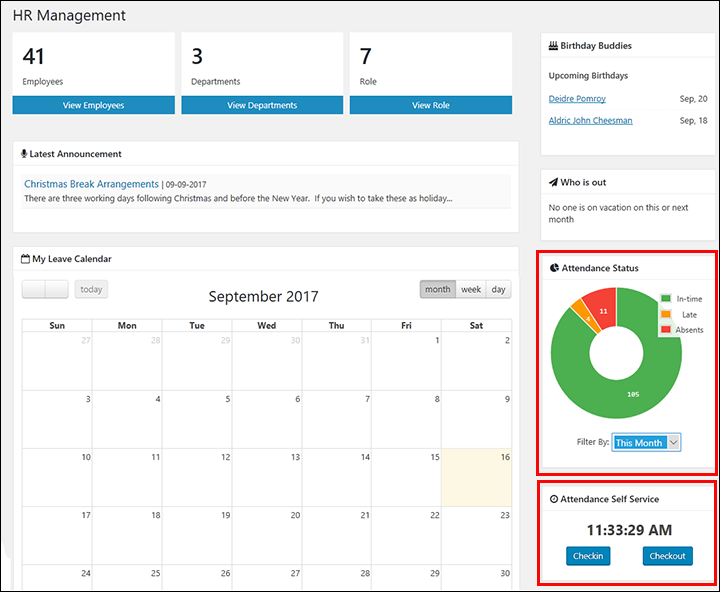
New Dashboard Widgets
After installing the Attendance extension, you will find two new widgets on your WP-HR Manager Overview page: ‘Attendance Status‘ and ‘Attendance Self-Service‘ (the latter only shows if switched on see below).
Attendance Status shows the percentage of time employees have arrived on time, late or been absent.
Attendance Self Service allows employees to checkin and checkout when they arrive and leave so you can track their work time without having to enter the information yourself. (Self Service needs to be activated).