
1.0 Leave Management Functionality for Admin and Managers
Admins can also generate leave for individual employees.
All requests generated by employees and admins are recorded and stored in the ‘Requests’ tab under ‘WPHR Leave’.
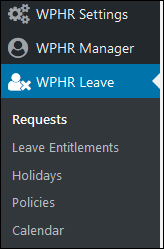
Fig 1. Menu
To access related features go to WPHR Leave → Requests (Fig 1)
This page lists all the leave requests made by users, new requests can also be created from here.
- To create, click on New Request and you will be redirected to a form as shown below.
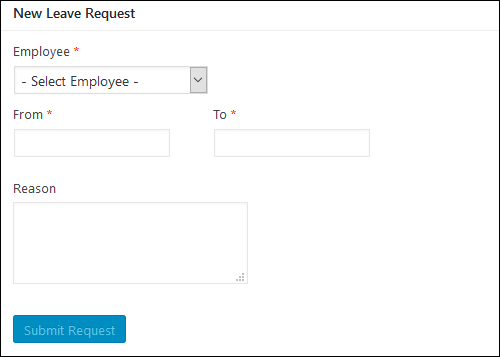
Fig 2. New Leave Request
2. Complete the form as required
3. If you need to set leave by the hour – first select the dates over which the leave will be taken – a drop down will then appear showing the number of days the request covers – including any statutory holidays you have created. Tick ‘Hourly’ next to the partial day and input the number of hours you wish to assign.
NOTE: You need to set a working day length in hours if you have not already done so – WPHR Settings => Company and choose the location you need.
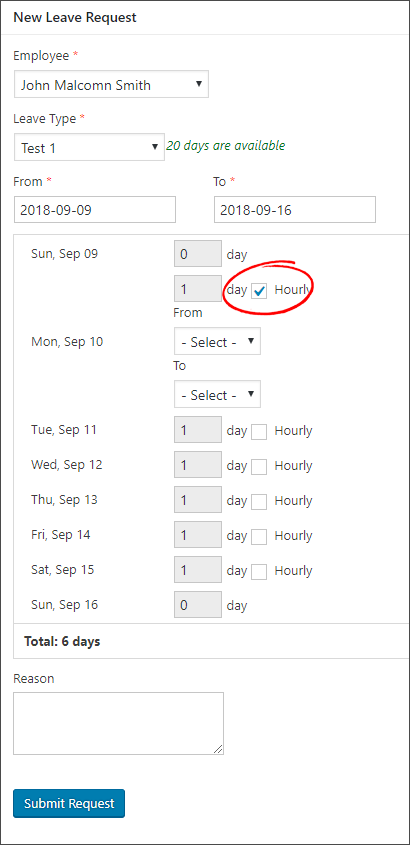
Now click on Submit Request.
4. Once submitted, a request cannot be edited anymore and they are set to pending status.
You can view all the requests and their details under the Leave Requests manager.
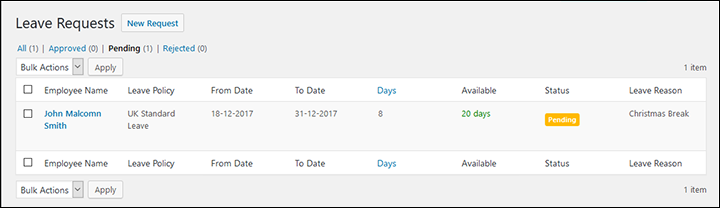
If the request is pending, it can be Deleted, Rejected or Approved.
If the status has been Approved, then you can change it back to pending, or delete or reject it.
To change status, simply hover on the entry and select the status you wish (options appear under the employee name).
[NB Text below need update]
2.0 Leave Management Functionality for Employees
1. Employees have to be logged in to add leave.
2. Employee’s can book leave from several screens in both the front and back end of the plugin.
- The ‘Overview’ page – back-end (Go to WPHR Manager => Overview) See Fig. 5 below)
- The Employee’s Profile page – back-end (Go to WPHR Manager => My Profile)
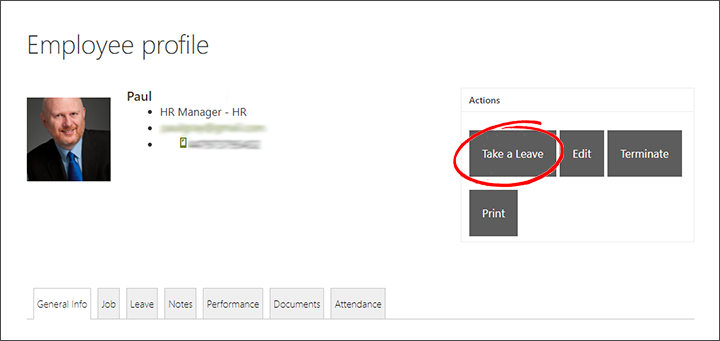
- The Employee’s Profile page – front-end (Fig. 7)
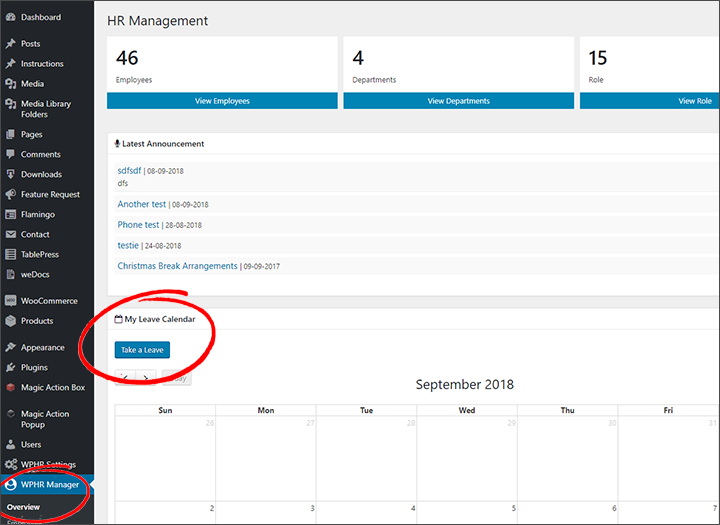
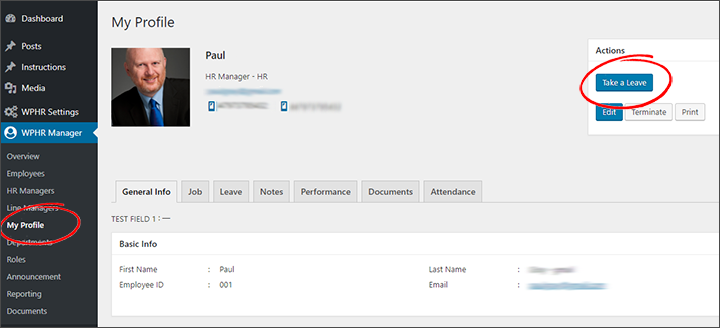
Fig 6. Take a Leave button on the Employee
3. The employee will now be taken to a screen like the one show in Fig 2 above.
Employee will be able to see the available number of leave days. They select the Type of Leave and the Date Range. They can also provide a Reason for the leave. Further options (eg hourly leave) appear once the dates are selected.
4. After completing the form, employee has to click on Send Leave Request.
5. After the leave request is submitted, it will be in pending order waiting for approval by the HR Manager or line manager. See next article for further details.